Arts & Entertainment
Drinking with Slugs: How One Woman Lost her Sanity and Gained a Garden
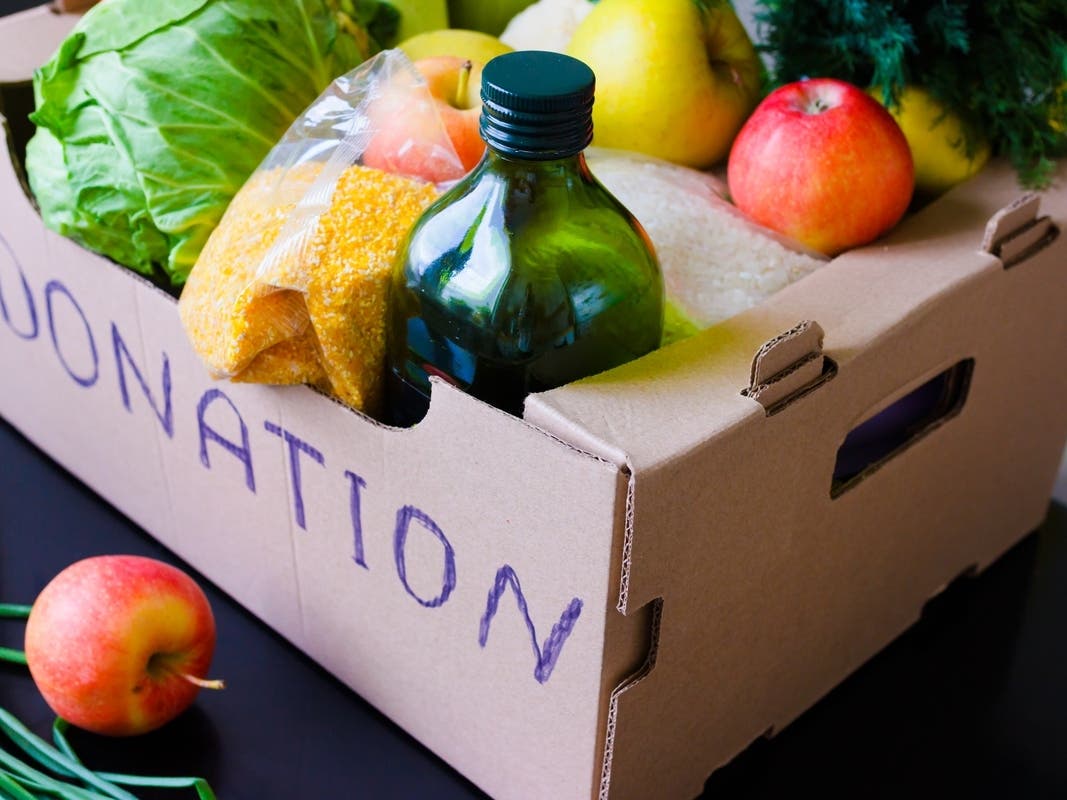
A first-hand account on starting a container garden in South Pasadena. Plus tips on how to keep it going.


Last night my family ate artichokes for dinner. This is of course completely unremarkable. A lot of people eat artichokes. The remarkable part lies in the fact that they were grown in my backyard—about five feet from my patio door.
The madness began last year when my friend Sarah lent me a book “The Urban Homestead: Your Guide to Self-Sufficient Living in the Heart of the City.” Or as my patient and loving spouse now calls it, “that book that drove you over the edge into complete insanity.” We had recently moved into a new (old) house, and the side yard was a wasteland of ugly cement. Growing up in South Pas, we always had a vegetable garden at my mom’s house. I dearly wanted to have one of my own, but the situation looked hopeless. We didn’t have the financial wherewithal to tear up all the cement, and my pleas for a jackhammer were (wisely) ignored by my better half. Then came The Book.
"The Urban Homestead" introduced me to the concept of container gardening: If you can’t grow something in the ground, grow something on top of it! (It also introduced me to the concept of having a composting toilet in your bedroom, but I must confess that even I wasn’t willing to go that far.) This book became my best friend. I bought planters of all sizes, bags of soil and lots of little seed packets. Sarah contributed to the madness by giving me worms. No, it’s not what you’re thinking. They’re red wigglers, also known as composting worms. We set up the little worm bins and the darlings immediately got to work making fresh compost for the garden. My daughters thought it was a little weird having worms for pets, but they quickly got used to the idea. Meanwhile, I used the planters on the cement; I planted, fertilized and watered my little heart out. And it worked! Well, sort of.
Find out what's happening in South Pasadenawith free, real-time updates from Patch.
Last summer, we grew green beans, tomatoes, carrots, radishes, lettuce, raspberries, potatoes, sunflowers, strawberries, basil and oregano all on 20 by 20 feet of concrete. Oh yes, and corn. The corn has it’s own story. I’ll save you the gory details, but I had read that corn requires a lot of wind to pollinate the ears and make them grow. Hmmm … not so windy in our yard with the fences, and I really wanted the corn to succeed. So yes, my long-suffering husband arrived home one day, walked into the backyard and stopped dead.
“Ummm, dear? What on earth are you doing?”
Find out what's happening in South Pasadenawith free, real-time updates from Patch.
“Not now Sweetie, I’m busy hand-pollinating the corn!”
After the blank stare came peals of laughter. Even now, there are occasional and slightly lascivious references to that event, but it worked! We had fresh corn for Independence Day.
That’s not to say that it was all a bed of … veggies? I had some failures, too. For lack of pollination, anything I planted in the squash family faded into oblivion. Towards the end of the season, my green beans got mildew. I also had to contend with bugs. Those cute little white butterflies aren’t so cute when you realize they’re leaving offspring on your plants; the offspring eat a lot leaving holes in produce you really wanted to eat! I had vowed though to keep my garden organic, so I got really good at picking the caterpillars off and relocating them to other regions of the yard while simultaneously muttering bad words under my breath.
Then came the slug attack. Apparently slugs are quite fond of strawberries and like to put a hole in each and every one. A search on the Internet (keywords: slug, organic, kill) turned up an effective solution. It’s called a beer trap—slugs are attracted to the beer, fall into the trap and drown. So, one beer into a shallow dish for the slugs, and one beer for me! (I must confess that I gave them the cheap beer and kept the good stuff for myself.)
It’s been a year now since I started this endeavor. I’ve learned that we’re trendy folks now. More and more people are growing their own food. As I walk around town, I see yards with newly-planted fruit trees, berries growing on trellises in sunny alleys and even an entire front yard dedicated to a vegetable garden. My darling husband likes to stand around at the water cooler at work and tell his co-workers that we grow food in our backyard as they ooh and ahh in amazement. My 3-year-old runs out the back door when she wants a snack—you’ll find her eating sugar snap peas on the steps. (Last week I tried giving her cooked, frozen peas. She spit them out and said, “Mommy, my mouth doesn’t like these!”)
It’s great that we know where our veggies come from, what’s in them and on them. I wouldn’t say they’re cheaper than grocery store produce, but they sure do taste better. And as my helpful spouse points out, gardening is still cheaper than going to a therapist! Now that I’ve taken up all the available space in the backyard, I guess I can rest a little bit. Oh wait! The new issue of “Urban Farm” magazine is here, and the featured article is on rooftop gardens. Hmmm… if anyone needs me, I’ll be up on the ladder testing the beams of the house.
Want to start a container garden at your place? Follow these tips.
- Veggies need light—most of them about six hours a day. Check your yard to find the best area for your containers.
- Be creative when choosing your containers. For instance, I have carrots and potatoes growing in an old kiddie pool with holes drilled in the bottom. Shallow containers are great for lettuce, but tomatoes require a larger pot for their root system. Don’t use any container that may have lead paint or any other toxic coating.
- Use good soil! This is the foundation for healthy plants. Go to a local nursery and have them help you pick out the best organic potting soil/mix for container gardening. Many of them have fertilizers mixed in, which helps give your plants a head start.
- Choose your crops; only plant what you like to eat. (This may sound silly, but trust me. When you get to the wall of seed packets at the nursery, you’ll go a little crazy.) You can use seeds or plants that have already been started for you, or both.
- Water wisely. You can generally tell if a plant needs water by sticking your finger into the soil. If it’s damp a few inches down, you’re probably OK. Containers do tend to dry out fast, so watch carefully. Water your soil—not the leaves of your plants. This will save water and help prevent mildew on your crops. A word of caution: Many hoses contain lead and carry warnings to not drink from them. You can purchase a lead-free, drinking-water-safe hose online or at many of the area garden centers.
- Watch for pests! Check your plants often for signs of slugs and other pests. Pick them off by hand if you can, or try a strong stream of water from the hose. If that doesn’t work, refer to an organic gardening book or the Internet. Identify the bug ,and look for the least-toxic way to get rid of it. Don’t put anything on your crops that you wouldn’t want to eat!